M215
BASE
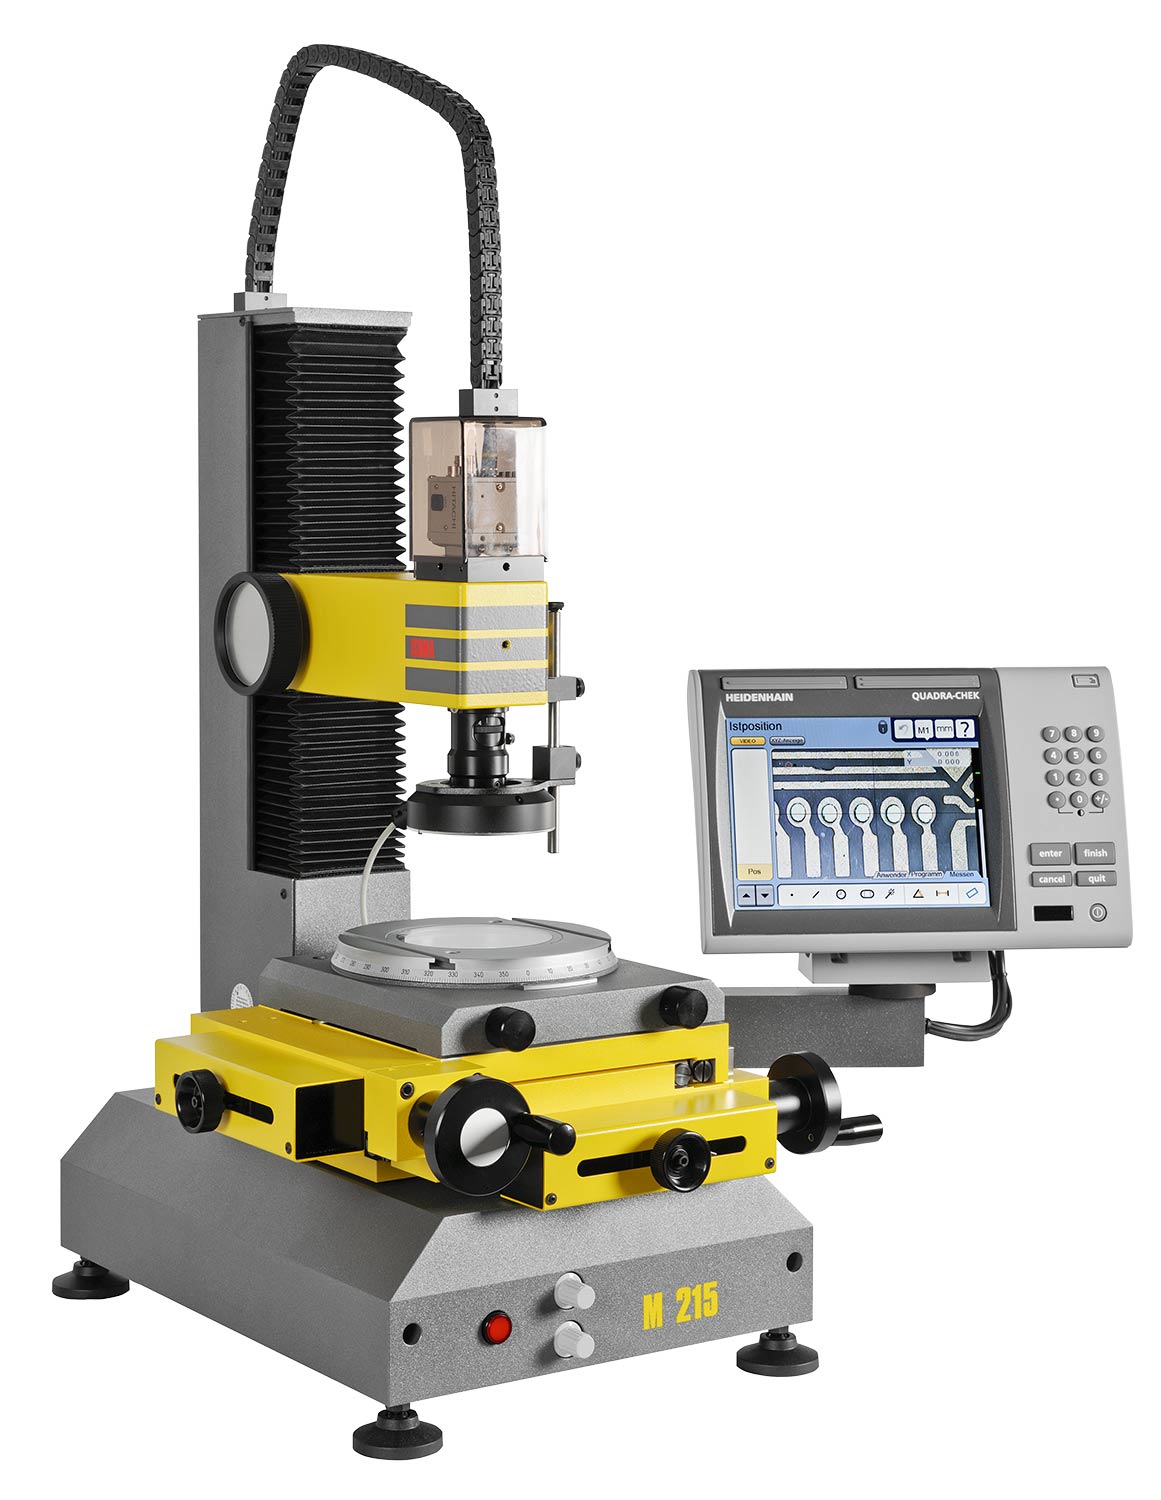
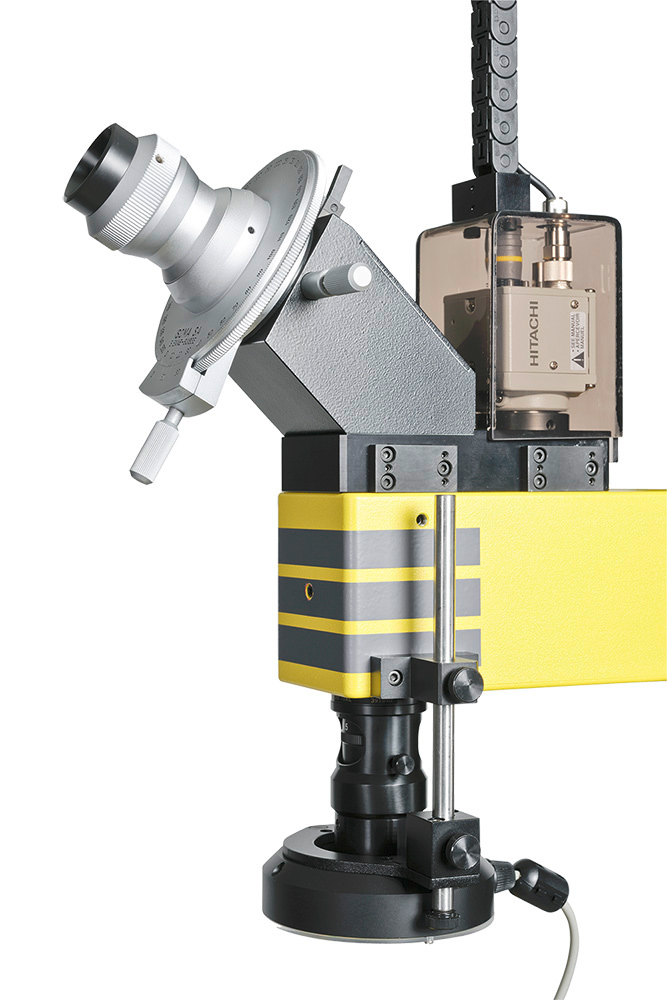
Base with regular or high stand, coordinate workstage with measuring range of 100 x 100 mm or 150 x 100 mm.
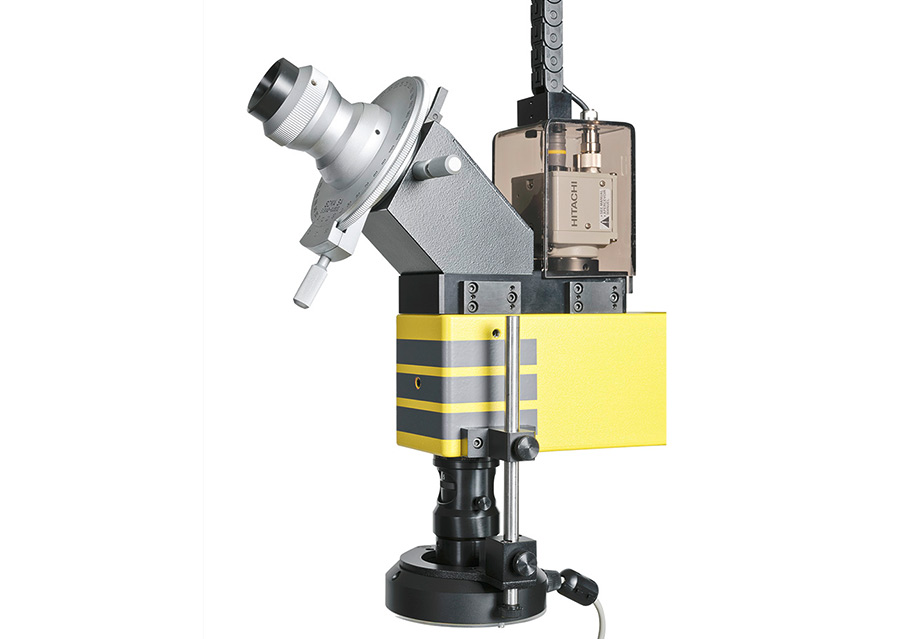
View with either microscope and interchangeable lenses or zoom lens.
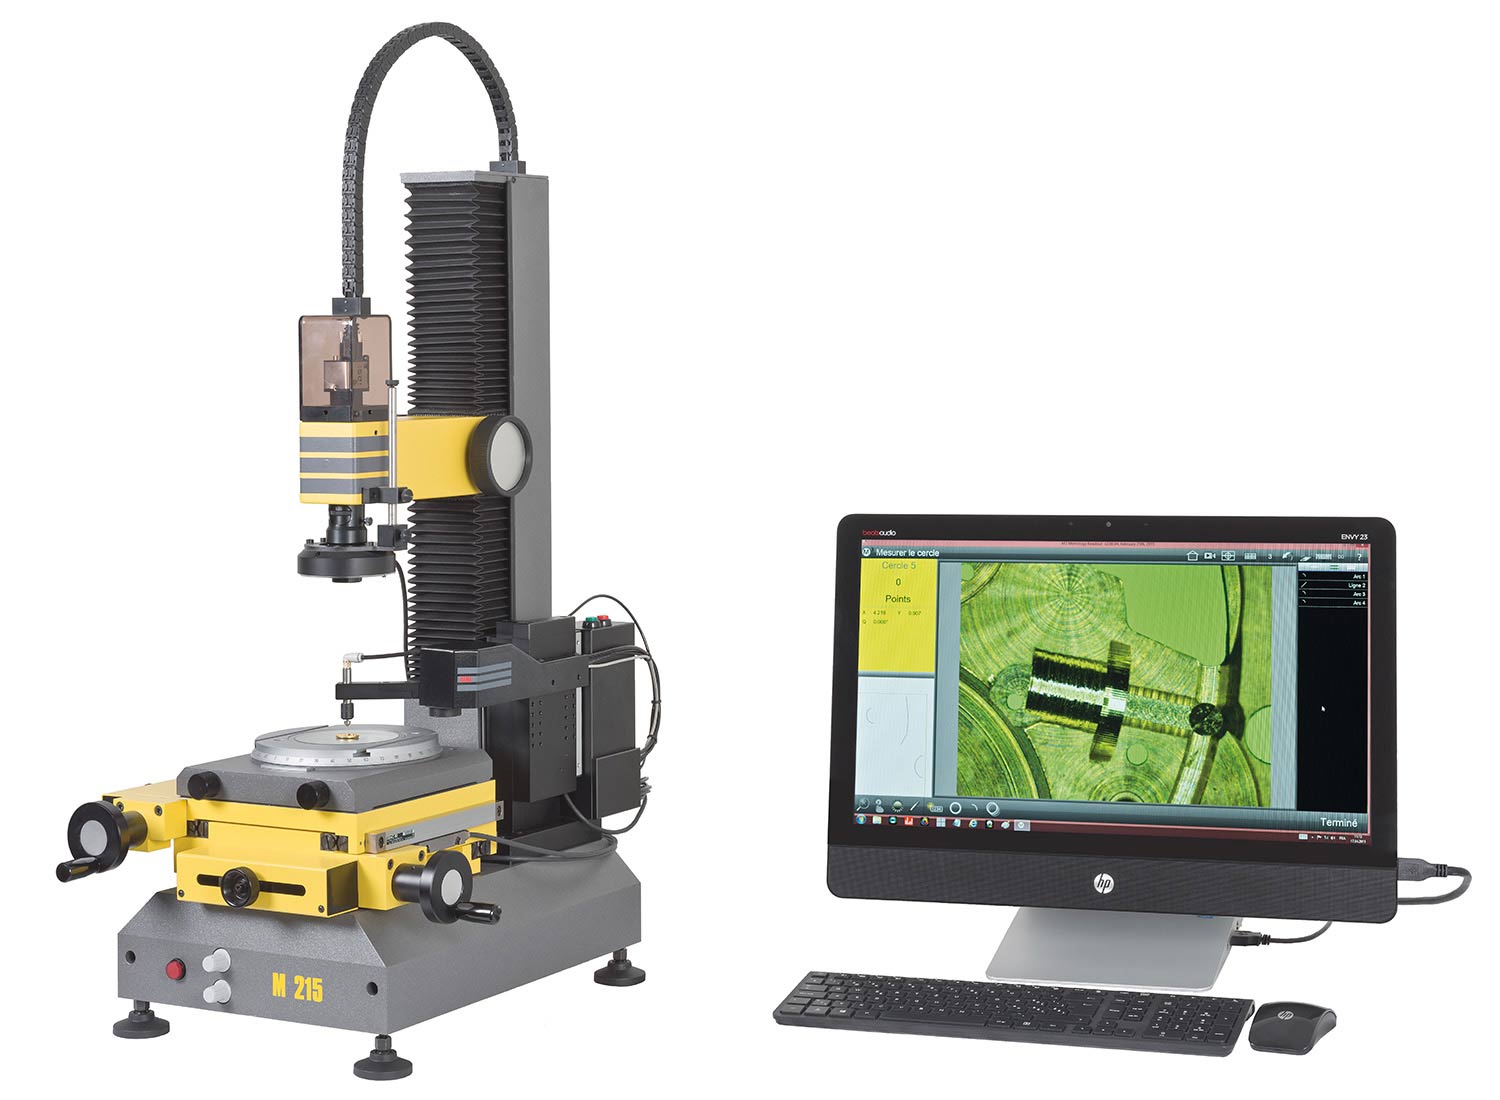
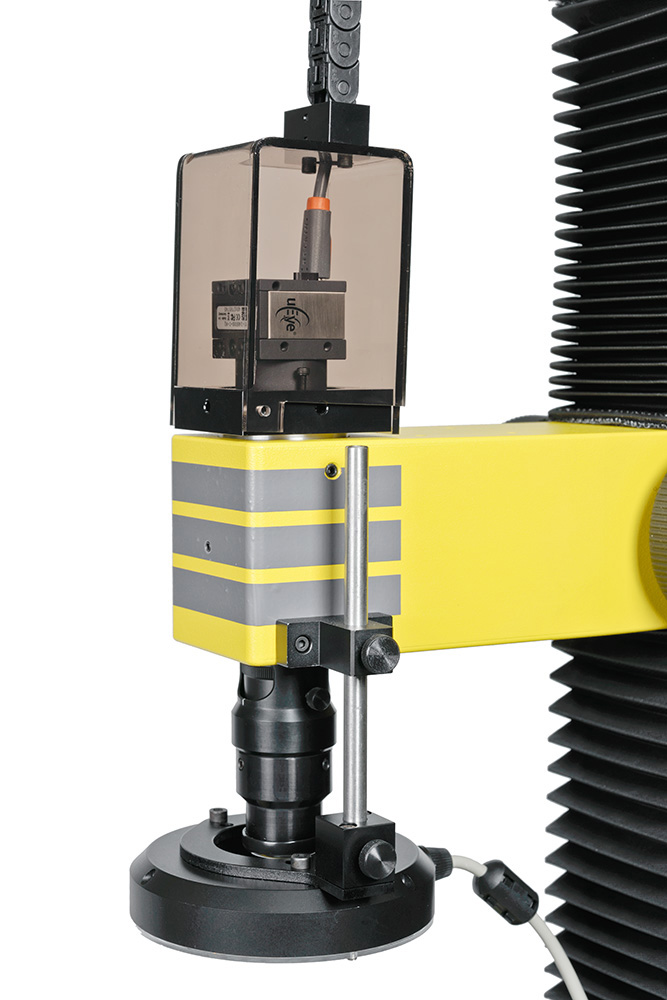
Options: View with a variety of video systems.
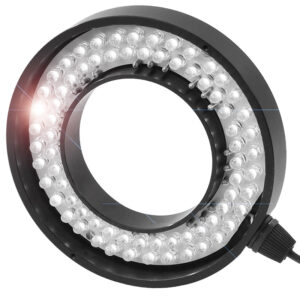
Made of aluminum, integrated LED transmitted-light illumination with connection for LED integrated-light illuminators. Electronic light regulator 2 x 12 V
STAND
Regular stand, 515 mm high, low-maintenance with bellows to prevent contamination. Z-axis adjustable height 200 mm.
Options: High stand, 660 mm high, low-maintenance with bellows to prevent contamination. Z-axis adjustable height 325 mm.
MEASURING SYSTEM
Digital scales accurate to 0.001 mm with an 11 μA signal.
COORDINATE WORKSTAGE
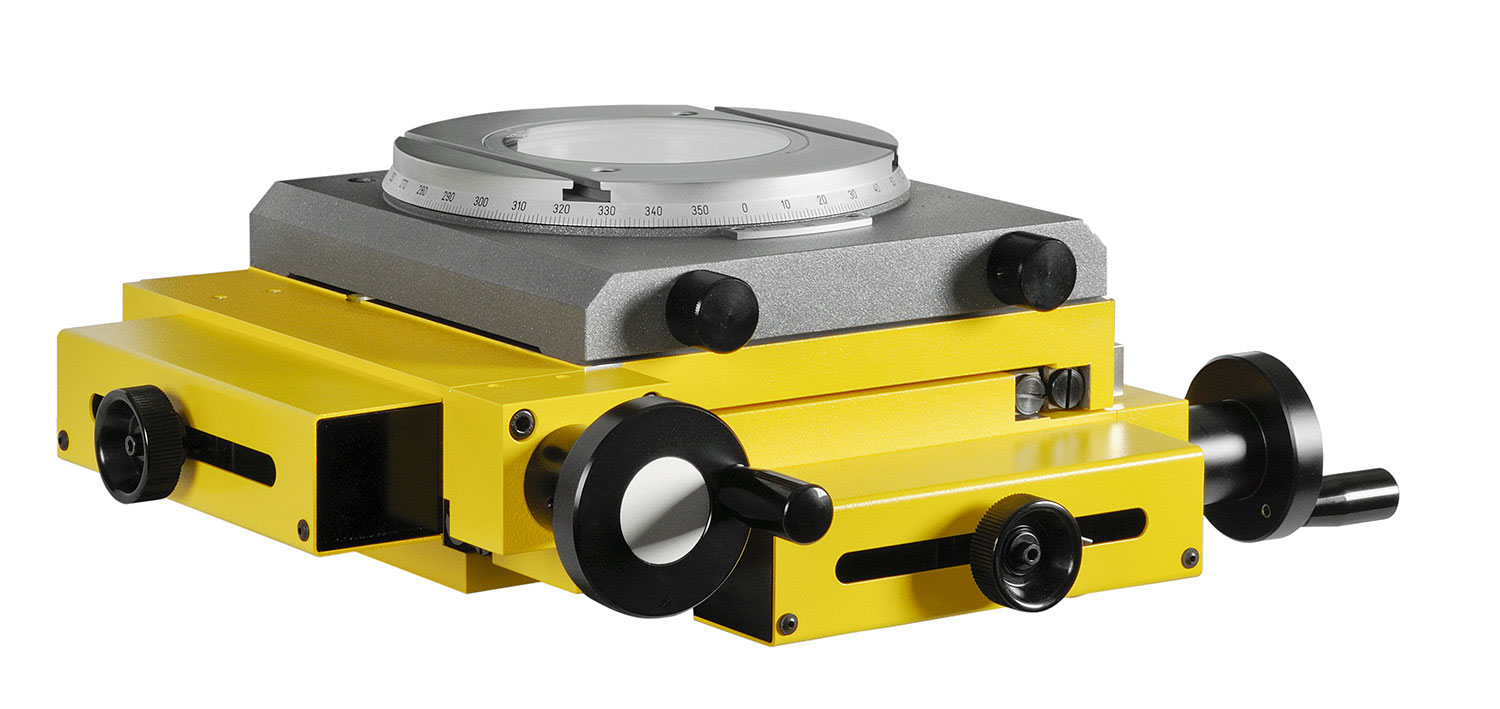
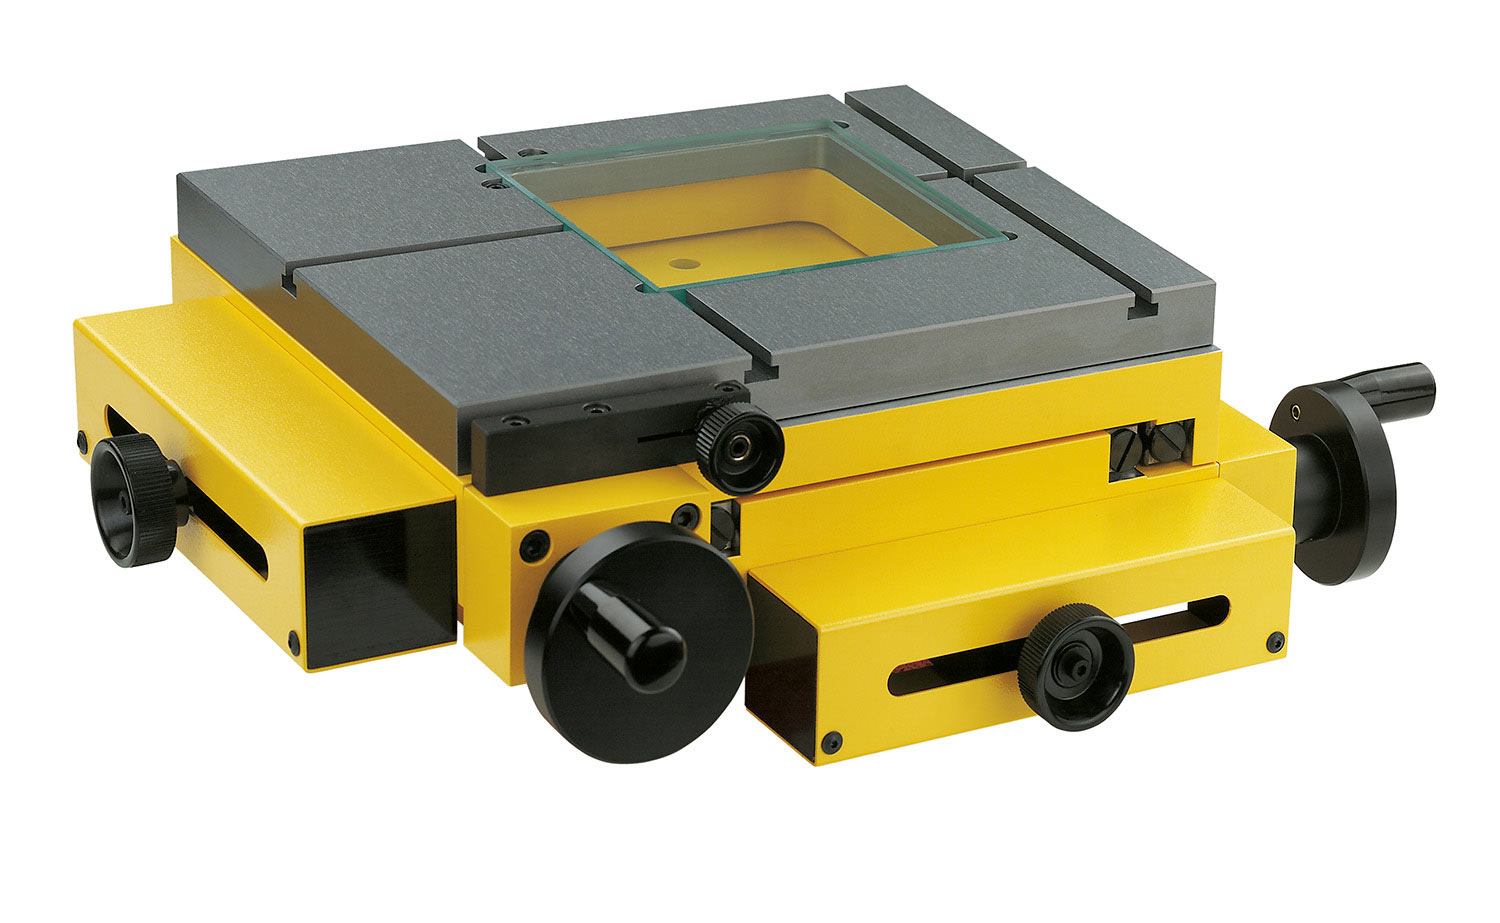
Z890: Precision workstage made of aluminium, measuring range of 100 x 100 mm, hard-anodized table. Precision roll guidings, quick release on X and Y axes.
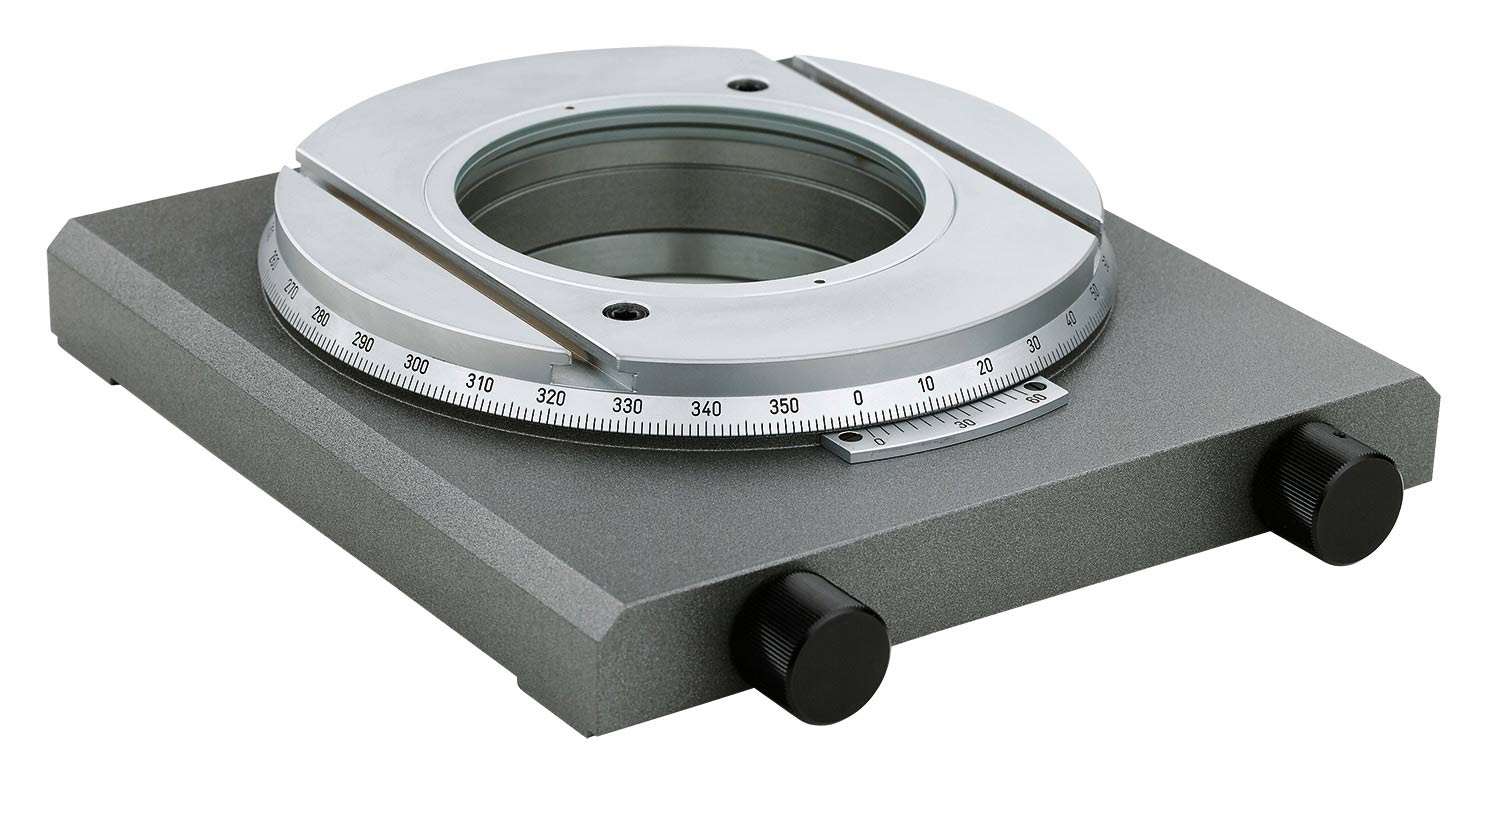
Z890.2: Same as Z890 but with high-precision 360° rotary table.
Z890.3: Same as Z890.2 but with centering device on the rotary table.
BASE
Base with regular or high stand, coordinate workstage with measuring range of 100 x 100 mm or 150 x 100 mm.
View with either microscope and interchangeable lenses or zoom lens.
Options: View with a variety of video systems.
Made of aluminum, integrated LED transmitted-light illumination with connection for LED integrated-light illuminators. Electronic light regulator 2 x 12 V
STAND
Regular stand, 515 mm high, low-maintenance with bellows to prevent contamination. Z-axis adjustable height 200 mm.
Options: High stand, 660 mm high, low-maintenance with bellows to prevent contamination. Z-axis adjustable height 325 mm.
COORDINATE WORKSTAGE
Z890: Precision workstage made of aluminium, measuring range of 100 x 100 mm, hard-anodized table. Precision roll guidings, quick release on X and Y axes.
Z890.2: Same as Z890 but with high-precision 360° rotary table.
Z890.3: Same as Z890.2 but with centering device on the rotary table.
MEASURING SYSTEM
Digital scales accurate to 0.001 mm with an 11 μA signal.
options
Standard Microscopes
Characteristic
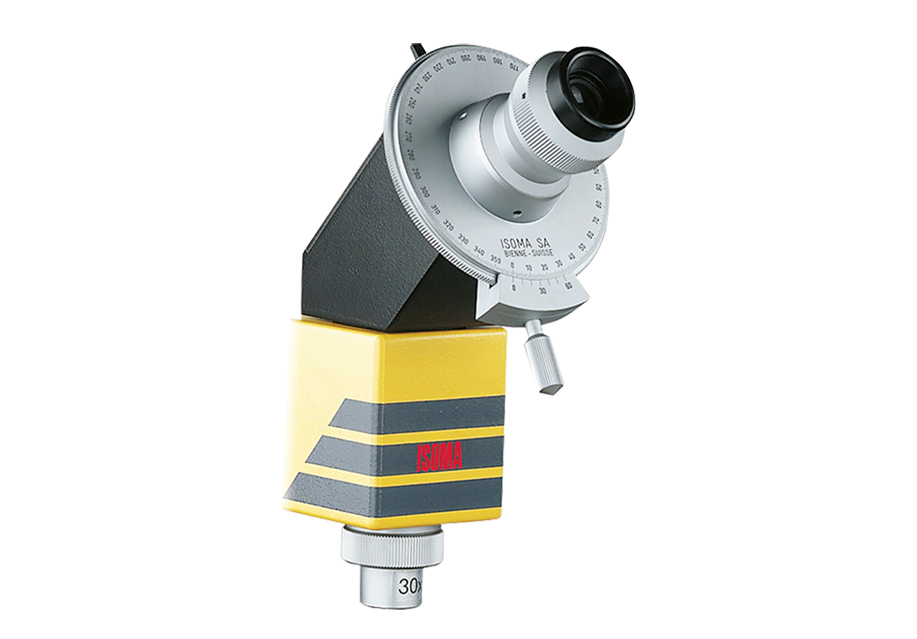
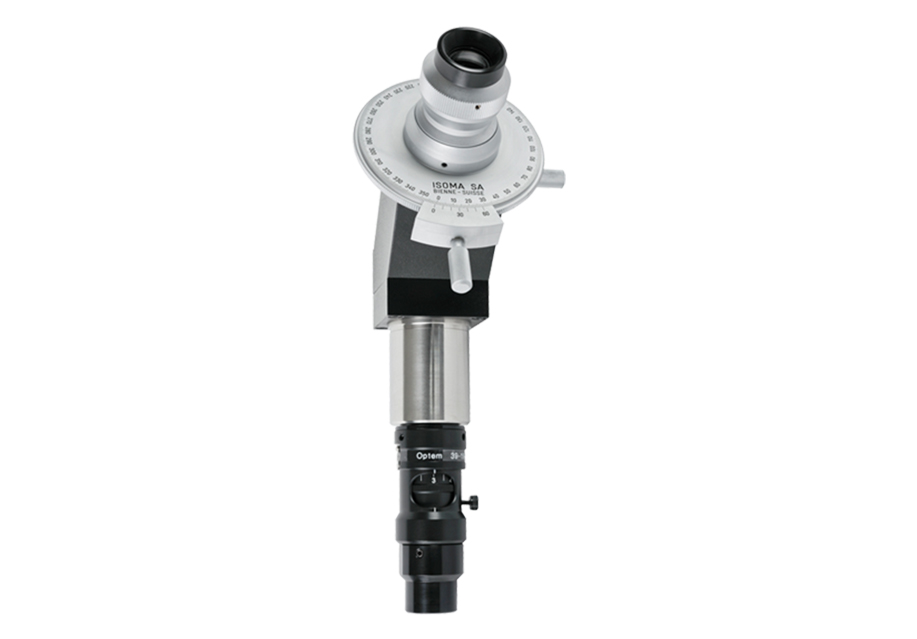
Chockproof eyepiece angled at 60°, integrated goniometric head rotating on 360°, reading on vernier 10’, Z2914-001 reticule marked with uninterrupted cross hairs and 20 concentric circles, real image, division dial and vernier setting in any position, stainless steel tube Ø 44h7.
Choise of magnifications
10x 20x 30x 50x 70x 100x
Zoom Microscopes
Characteristic
Chockproof eyepiece angled at 60°, integrated goniometric head rotating on 360°, reading on vernier 10’, Z2914-001 reticule marked with uninterrupted cross hairs and 20 concentric circles, real image, division dial and vernier setting in any position, zoom-objective mounted in tube Ø 44h7.
Zoom data
70XL with 7 position steps from 0,3x to 2,2x and a basic objective magnification 2.5x for zoom 70, bright and accurate reproduction reproduction of the image.
M3 Measuring Software
Characteristic
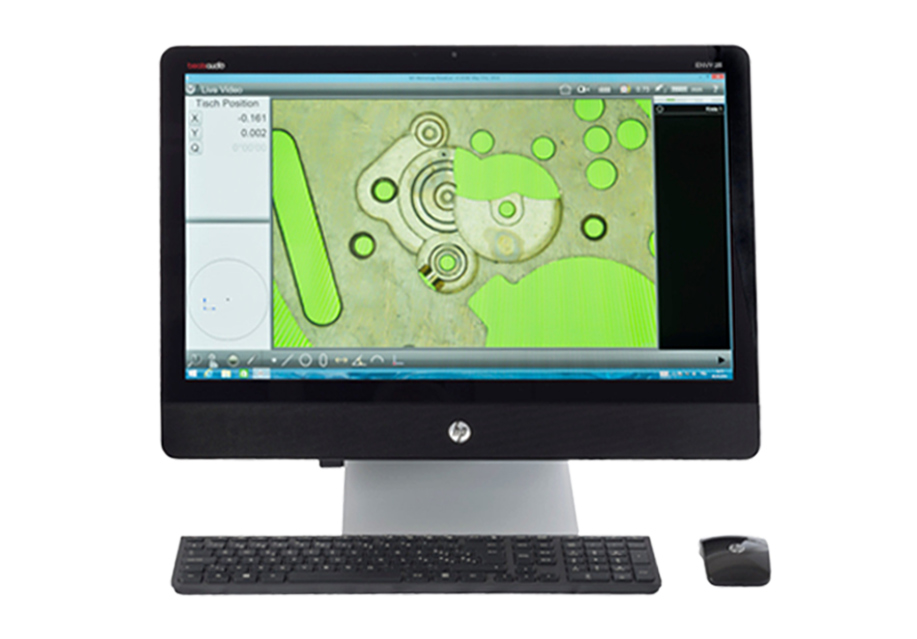
M3 with multitouch application for PC equipped with Windows 8 (32 or 64 Bit) 2 axes with linear and geometric functions, 2 channels for light intensity regulation, image data processing, DXF licence I/0 module, TTL or 11μA 9-pole, camera and module, I/0 module connected via USB-Port.
M3 Kombi
MORE INFORMATION ABOUT THIS PRODUCT?
Accessories
-
Direct lighting with LEDs
CHF 295.00 -
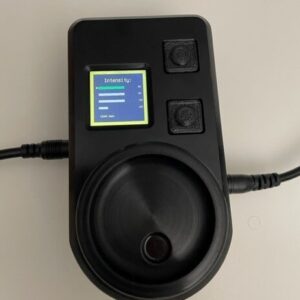
Light control
CHF 550.00 -
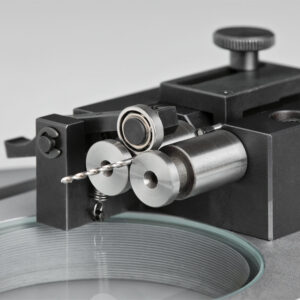
Roundness inspection device (Z2360-TZ-04)
CHF 4'559.00 -
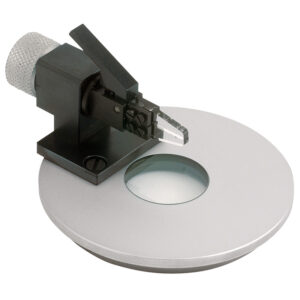
Checking device with glass jaws Z2402
CHF 800.00 -
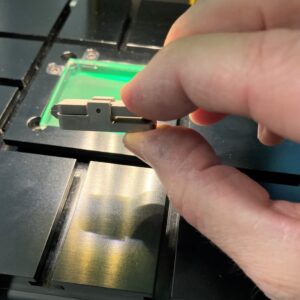
Precision clamping center for flat micro parts
CHF 1'035.00 -
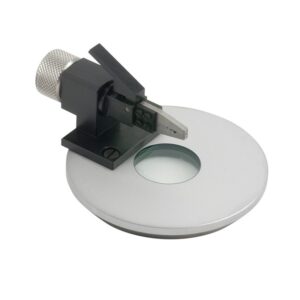
Test device with steel jaws Z2405
CHF 910.00 -
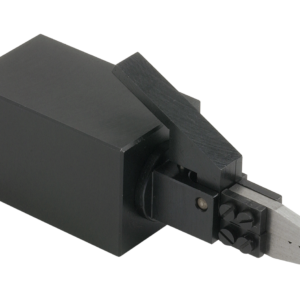
Checking device with jaws Z2405-001 mounted fix on the steel body 18x18x30mm Z2405.2
CHF 580.00 -
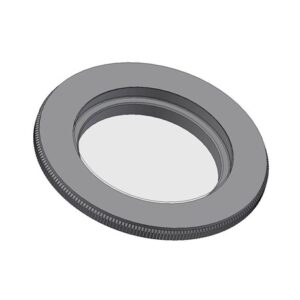
Glass table Z2209
CHF 250.00 -
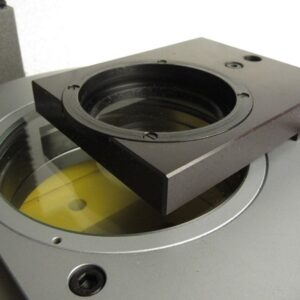
Intermediate table , Z2240.1
CHF 552.00 -
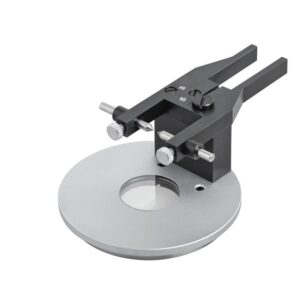
Tip support 12mm fixed, Z2331
CHF 2'645.00 -
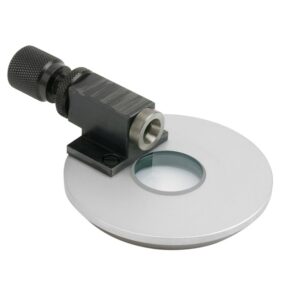
Collet holder Z2401, Collet free choice
CHF 850.00 -
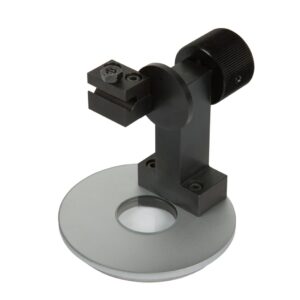
Z2408 – V-support M112 for drill 360° rotatable
CHF 590.00

